
Wildlife photography: get your best shot!
Wildlife photography is a fantastic way to grow your connection to nature and support your wellbeing. It’s a great excuse to spend time outside, and the focus you need to find the perfect shot can help you feel connected to the world around you.
We know that getting started with photography can be a bit overwhelming, so we’ve asked our resident photographers, Helen, Nathan and Jane, for their top tips for nature photography.
Finding the shot
Let’s start with Helen’s tips for her favourite part of wildlife photography: finding a subject. “Tracking and trailing are a lot of fun, and it’s very easy to learn basic track identification and field craft. Learn to walk slowly and quietly to avoid scaring wildlife, and allow the natural world to come alive around you.”
Use all your senses
Try to use all your senses: can you hear anything moving in the bushes nearby? Smell any strong scents? See anything that looks a little out of place? If you are really brave (and wash your hands afterwards), the feel of deer droppings can let you know how old the trail is! The sooner you become aware of your subject, the more time you will have to compose a photograph.
Knowledge
Knowing something about the biology and behaviour of your subject will both help you find them, and understand what they are doing. A portrait shot is always beautiful, but capturing interesting behaviour or species interactions can tell a more intimate story about their lives.
Be open to the moment
No matter how prepared you are, or what you think you are looking for, sometimes nature will take you by surprise. Pay attention, and be open and ready to embrace whatever photographic opportunity comes your way.
Be respectful
Ethics are vital in wildlife photography. Take care not to scare or harass your subjects, damage their habitat, or trespass from paths. Sometimes you just can’t get the shot, and that is an important lesson to learn and accept. Rather, just sit back and enjoy your sighting as a beautiful moment with nature.
Composition and lighting
Jane and Nathan have advice on composition and lighting conditions.
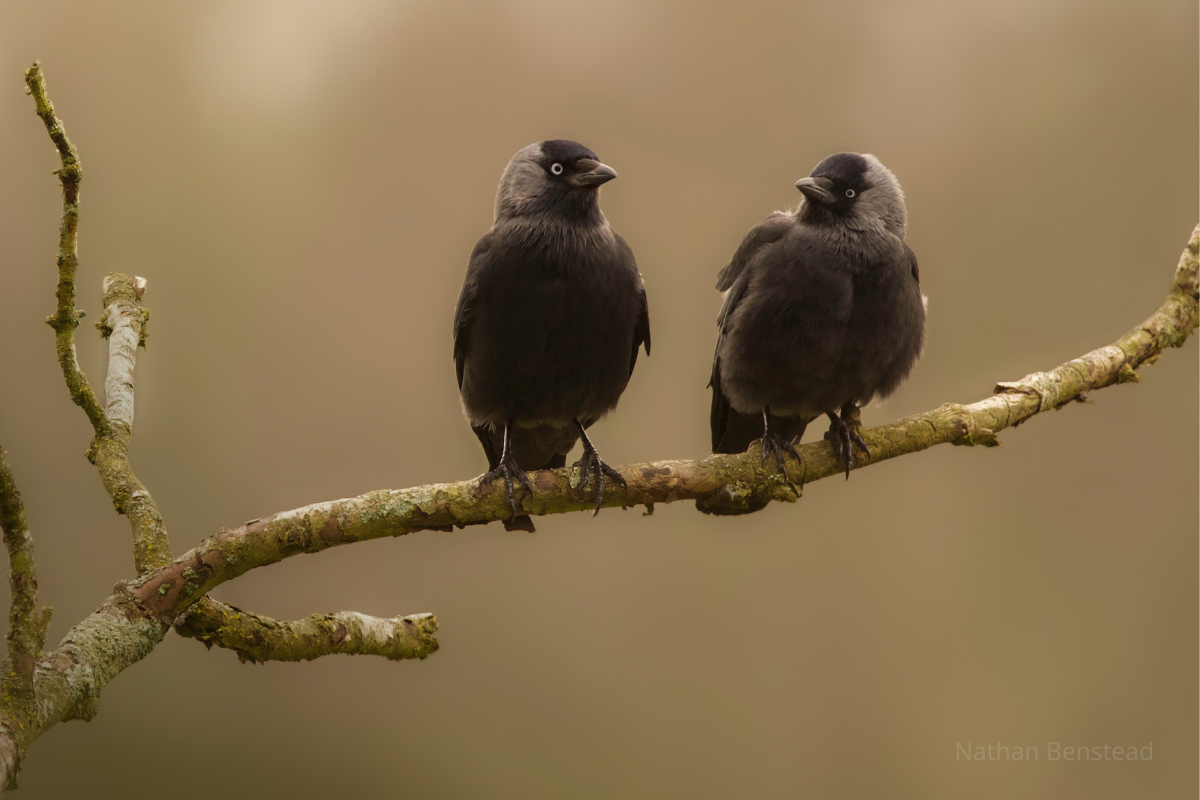
Nathan advises you to “be mindful of composition. Things like the rule of thirds really help with getting nice compositions.”
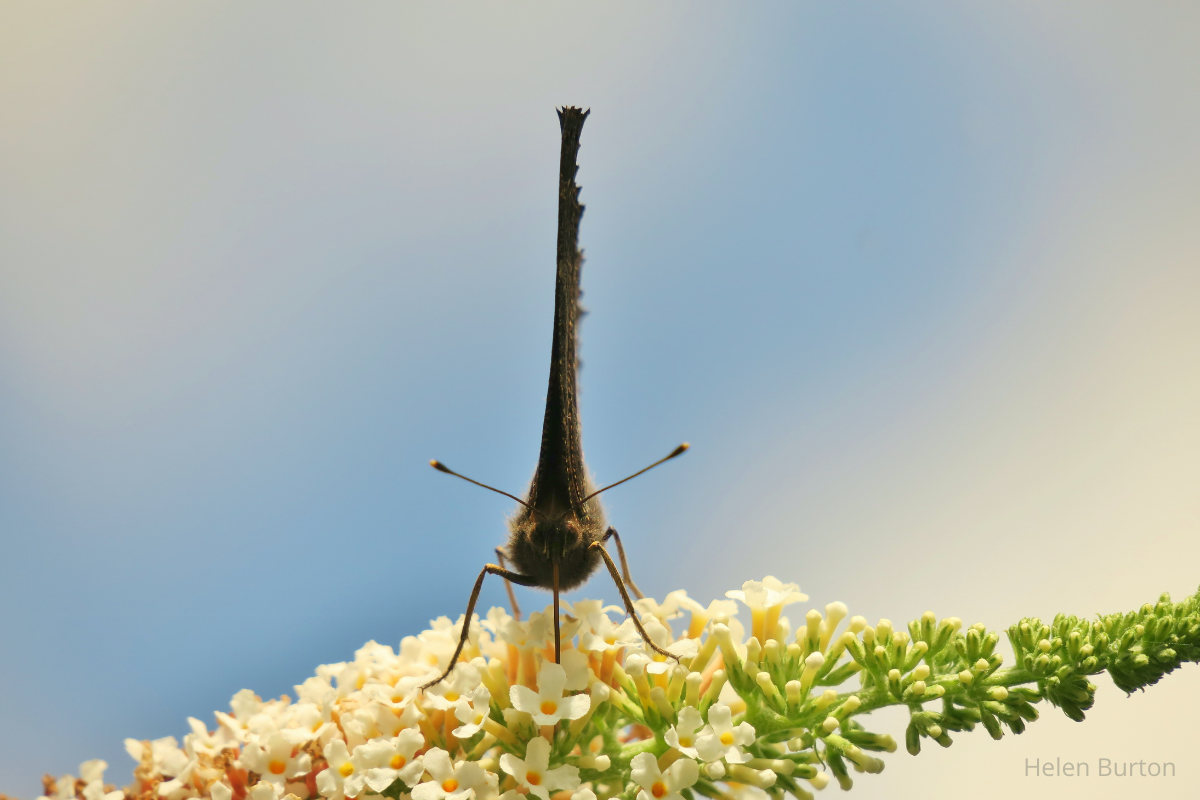
Jane recommends that you try different angles, such as taking a photo from the ground looking up, to create images with an interesting perspective. You can also take close up photos to create a sense of scale, or alternatively from further away to give a sense of the surrounding environment.

In terms of lighting, Jane points out that you should keep an eye on the cloud cover and the time of day. “Bright overhead sunlight is harsh and images will have very strong highlights which won’t have the detail in that you are after. Earlier in the day or later in the afternoon gives much softer light and good shadows.” There are also more animals out and about at these times.
If you can’t do an early morning or evening shoot, then Nathan recommends sticking to cloudy days: “the clouds act as a natural light diffuser and makes the lighting a lot softer.”
Equipment and settings
Once you have the subject, lighting and composition sorted, you can start thinking about equipment. We’ve put this last, because you don’t have to buy expensive equipment to enjoy wildlife photography – if all you want to do is get out in nature and take interesting photos, then you don’t need to worry about this section. You will still get some beautiful images and feel the benefits of spending time in nature.
However, if you decide that you want to take your photography to the next level, then it’s worth searching out high quality equipment. Nathan advises that you “buy the best equipment that you can afford. A good quality lens can be the difference between a sharp or blurry photo.” Check out second hand market places for cheaper options.
Jane also has some tips for the settings on your camera. When photographing insects, animals or birds, set the shutter speed to “fast” to avoid blurred photos. And if you put your camera on “shutter priority” then the camera will work out the right aperture (the size of the lens opening) to let enough light in. Auto mode won’t necessarily be fast enough to do this and so the photo would be blurred.
Thank you to Jane, Nathan and Helen for taking the time to give us your tips.
All three of our photographers emphasised the importance of patience, practice and persistence, so don’t be disheartened if it takes a while to get the photo you want.
And remember, the main thing is to go out, have fun, and enjoy nature!


